Achieve Perfect Boiled Eggs Every Time: A Simple Guide
Are you tired of struggling to get the perfect boiled egg? Look no further! We have a straightforward method that guarantees deliciously cooked eggs, tailored to your preference. Whether you enjoy them soft, medium, or hard-boiled, this foolproof technique will leave you satisfied every single time.
Boiled eggs are not only nutritious, packed with protein, vitamins, and minerals, but they also make for a satisfying and healthy addition to any meal. Now, let’s dive into the steps for achieving the perfect boiled egg:

Ingredients and Tools:
- Fresh eggs
- A pot with a lid
- A bowl of ice water for cooling
- A timer
Step-by-Step Process for Flawless Boiled Eggs:
Step 1: Room Temperature Eggs
Begin with eggs that are at room temperature. This simple trick helps prevent the shells from cracking when they are added to hot water. If your eggs are straight from the fridge, you can place them in warm water for a few minutes before boiling.
Step 2: Boiling Water
Fill a pot with enough water to fully cover the eggs. Bring the water to a full boil over high heat. It’s essential to have sufficient water to ensure even cooking of the eggs.
Step 3: Adding the Eggs
Once the water is boiling vigorously, reduce the heat to low to maintain a gentle simmer. Using a spoon or ladle, carefully lower the eggs into the water. This gentle approach prevents the eggs from cracking. Dropping eggs abruptly into boiling water can cause them to crack, so handle them delicately.
Step 4: Cooking Time
The cooking time varies based on your desired consistency:
- Soft-boiled eggs: Cook for about 4-6 minutes.
- Medium-boiled eggs: Cook for about 6-9 minutes.
- Hard-boiled eggs: Cook for about 10-12 minutes.
Adjust the cooking time slightly depending on the size of the eggs and your altitude. Larger eggs or higher altitudes may require a bit more time. Keep an eye on the eggs to achieve your preferred level of doneness.
Step 5: Cooling the Eggs
Once the eggs are cooked to perfection, carefully remove them from the hot water using a slotted spoon and immediately transfer them to a bowl of ice water. This rapid cooling stops the cooking process and facilitates easy peeling. Allow the eggs to sit in the ice water for approximately 5 minutes.
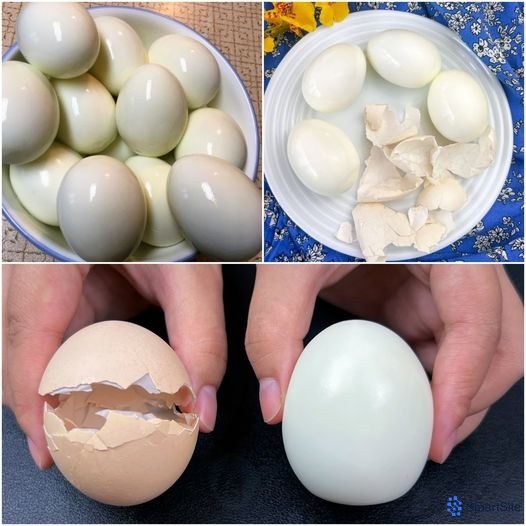
Step 6: Peeling
After cooling in the ice water, gently crack the eggshells and peel them under a small stream of running water. The water helps separate the egg from the shell, making peeling a breeze. If the shells are stubborn, return the eggs to the ice water for another minute or two before peeling.
Helpful Tips for Consistent Results:
- Freshness: Use relatively fresh eggs for best results. Eggs that are slightly older are easier to peel due to changes in pH levels over time, which reduce the stickiness of the egg whites to the shell.
- Consistency: Once you determine the ideal cooking time for your preferred egg doneness, stick to it consistently. Keeping track of timing and conditions helps replicate perfect eggs every time you cook.
- Storage: Boiled eggs can be stored in the refrigerator for up to a week. Keep them in their shells until ready to eat to maintain freshness. If peeled, store in an airtight container with a damp paper towel to prevent drying out.
Why This Method Works:
Perfectly boiling eggs may require a bit of practice, but the results are worth it. This method emphasizes simplicity and precision, ensuring your eggs are cooked exactly as you like them. From using room temperature eggs to gentle handling and precise timing, every step contributes to achieving flawlessly cooked eggs with consistent texture and flavor.
Say goodbye to overcooked or undercooked eggs and say hello to perfectly boiled eggs every time. Give this method a try and enjoy the incredible taste and versatility of perfectly cooked eggs, whether enjoyed on their own, in salads, or as a wholesome snack. With this straightforward approach, perfect boiled eggs are well within your reach!